User Group Management
Download
Focus Mode
Font Size
This document describes how to create and edit user groups, and add or remove users within those groups, in the IDSEC console.
Creating User Groups
1. Log in to the IDSEC console and click User Group Management in the left sidebar.
2. On the User Group Management page, click Create user group.
3. In the Create User Group pop-up window, enter the user group name and remarks, and click OK to complete the creation.
Parameter description:
User group name: a custom name that cannot be duplicated.
Description: a custom description with a maximum of 128 characters.
Editing User Group
After creating a user group, you can modify its name and remarks.
1. On the User Group Management page, select the desired user group and click Edit for that user group.
2. In the Edit pop-up window, modify the user group name and remarks, then click OK.
Deleting a User Group
After creating a user group, if you no longer need it, you can delete a single user group or delete user groups in batches on the User Group Management page.
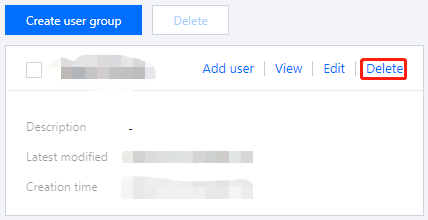
Method 1: Select the desired user group, click Delete for that user group, and confirm the deletion to remove it.
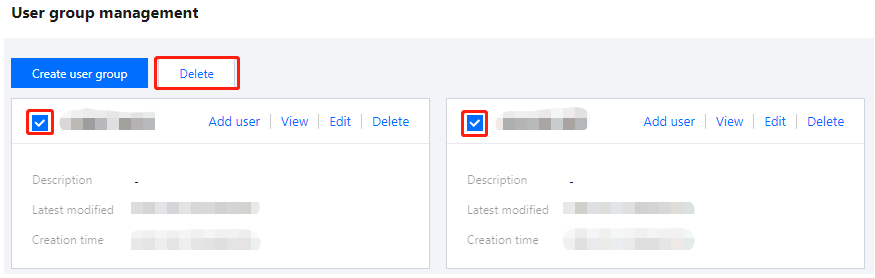
Method 2: Select one or more user groups to be deleted. Above the user group list, click Delete and confirm the deletion to remove the user groups.
Adding Users to User Groups
After creating a user group, you can add users to it.
Method 1
1. On the User Group Management page, select the desired user group and click Add User for that user group.
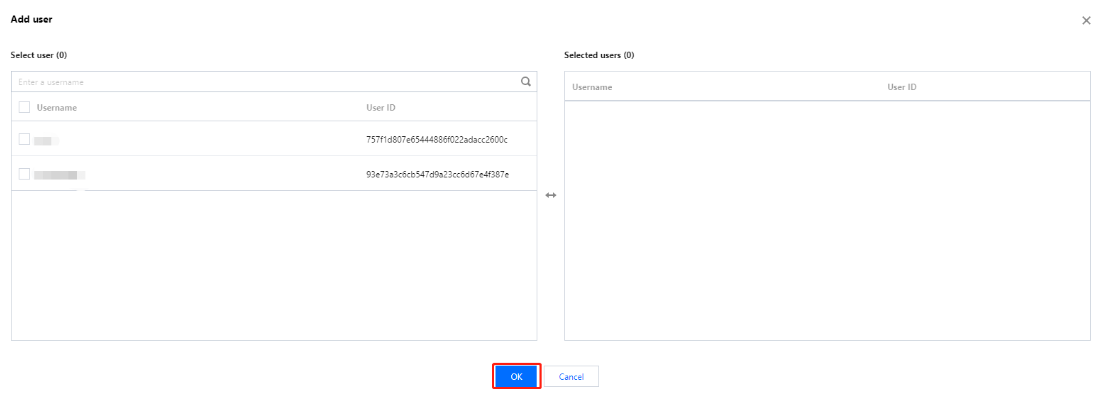
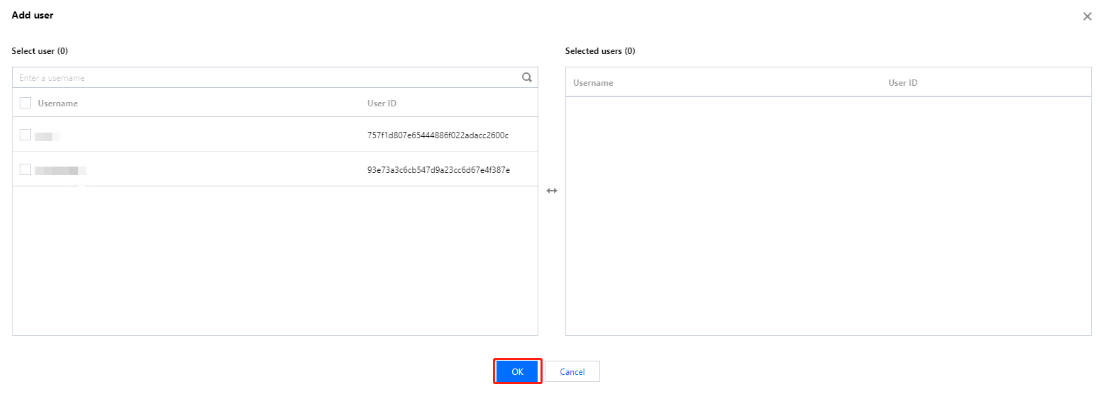
2. In the Add User pop-up window, select the users to be added and click OK. The selected users will then be added to the user group.
Method 2
1. On the User Group Management page, select the desired user group, click a blank area of it, and go to the User Group Details page.
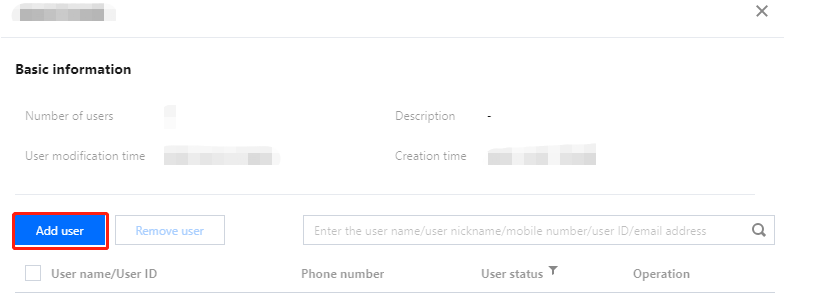
2. On the User Group Details page, click Add User.
3. In the Add User pop-up window, select the users to be added and click OK. The selected users will then be added to the user group.
Removing Users from User Groups
After a user is added to a user group, you can remove that user.
Method 1
1. On the User Group Management page, select the desired user group, click a blank area of it, and go to the User Group Details page.
2. On the User Group Details page, click Remove User in the Actions column on the right.

3. In the Confirm Removal dialog box, click Confirm to remove the user from the user group.
Method 2
1. On the User Group Management page, select the desired user group, click a blank area of it, and go to the User Group Details page.
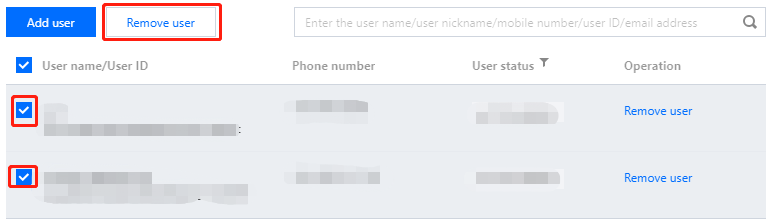
2. On the User Group Details page, select one or more users to be removed and click Remove User above.
Help and Support
Was this page helpful?
You can also Contact sales or Submit a Ticket for help.
Help us improve! Rate your documentation experience in 5 mins.
Feedback