This document describes how to manage the SSL Certificates required by your gateway, including operations such as creating, deleting, and editing certificates.
Prerequisites
If you have already completed processes such as domain registration, identity verification, and filing, you can use the domain services provided by Tencent Cloud. For details, see Quick Domain Registration and Identity Verification.
2. Click the ID/Name of the target instance to go to its details page and access the target gateway instance.
3. Go to Network Configuration > Public Network CLB to obtain the access IP address.
4. Follow the instructions in Quickly Add Domain Name Resolution to resolve your domain name to the IP address in the gateway's public network proxy address.
Step 2: Creating a Certificate
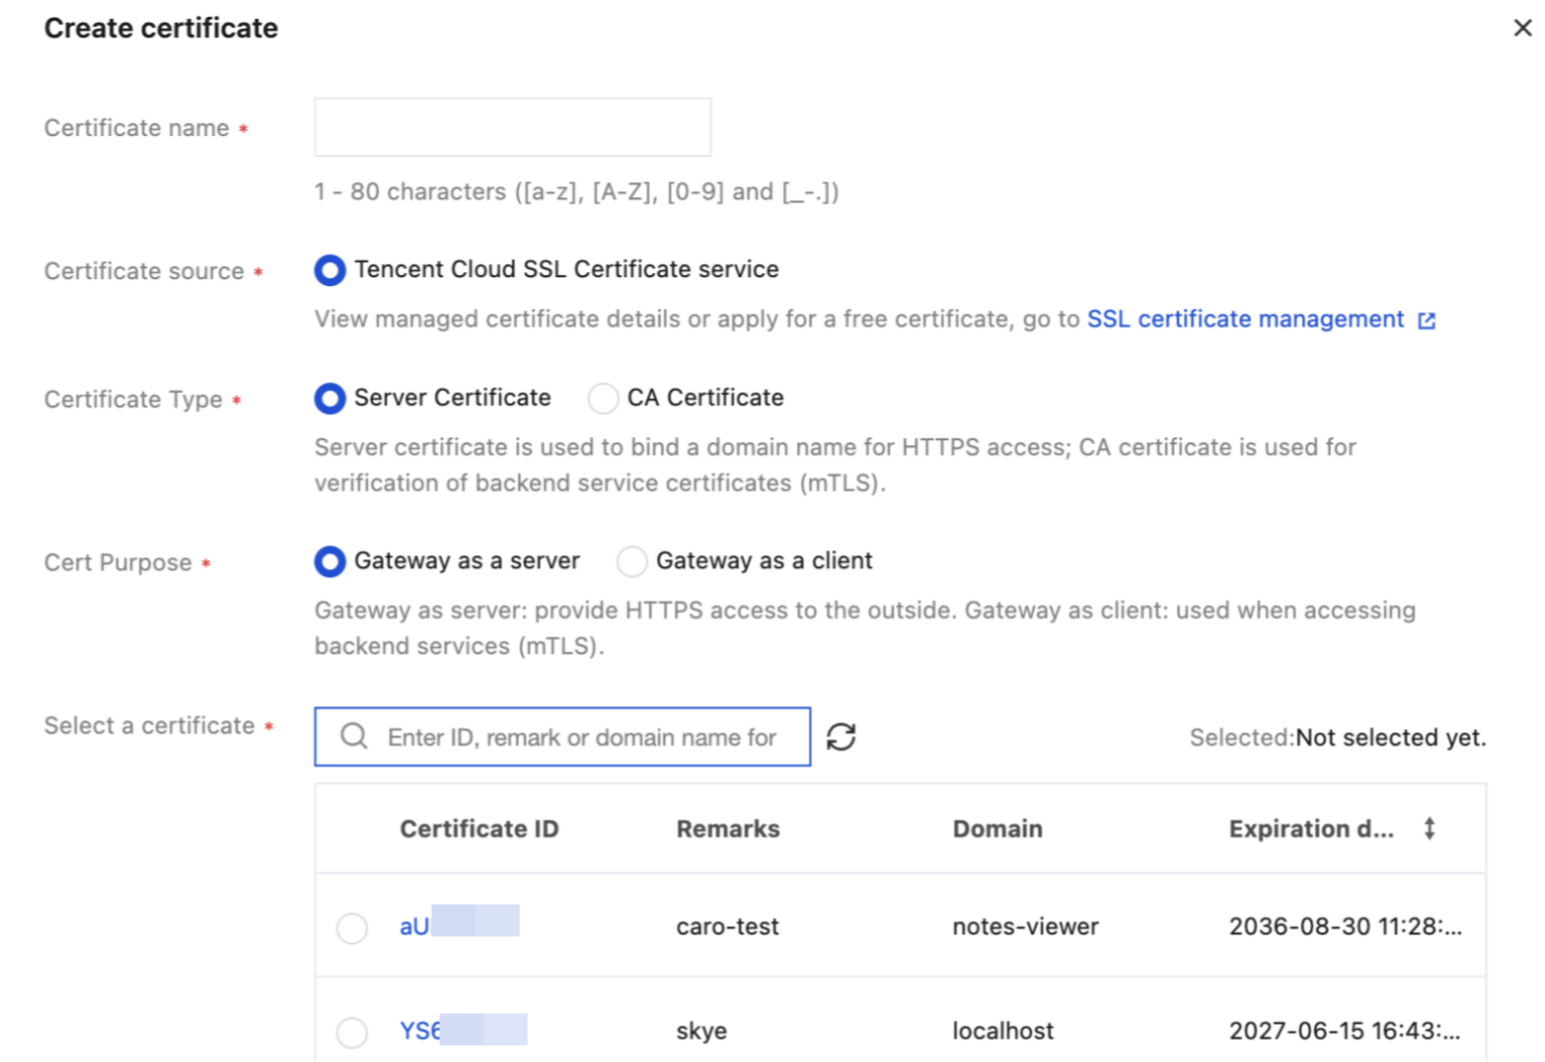
1. In the left sidebar, select Certificate Management and click Create.
2. Enter the certificate name, select a certificate, and enter your domain name. Only SVR certificates are supported.
3. Click Confirm to complete certificate creation. Return to the certificate list to view the created certificate.
Step 3: Verifying Whether the Certificate Takes Effect
Access https://domain name to verify whether the certificate takes effect.
Updating the Certificate
You can update the certificate before it expires.
1. On the certificate list page, select the certificate you want to update and click Update Certificate in the operation column.
2. In the pop-up window, select the certificate to be updated, confirm the updated certificate information, and click Confirm to complete the update.
Editing the Certificate
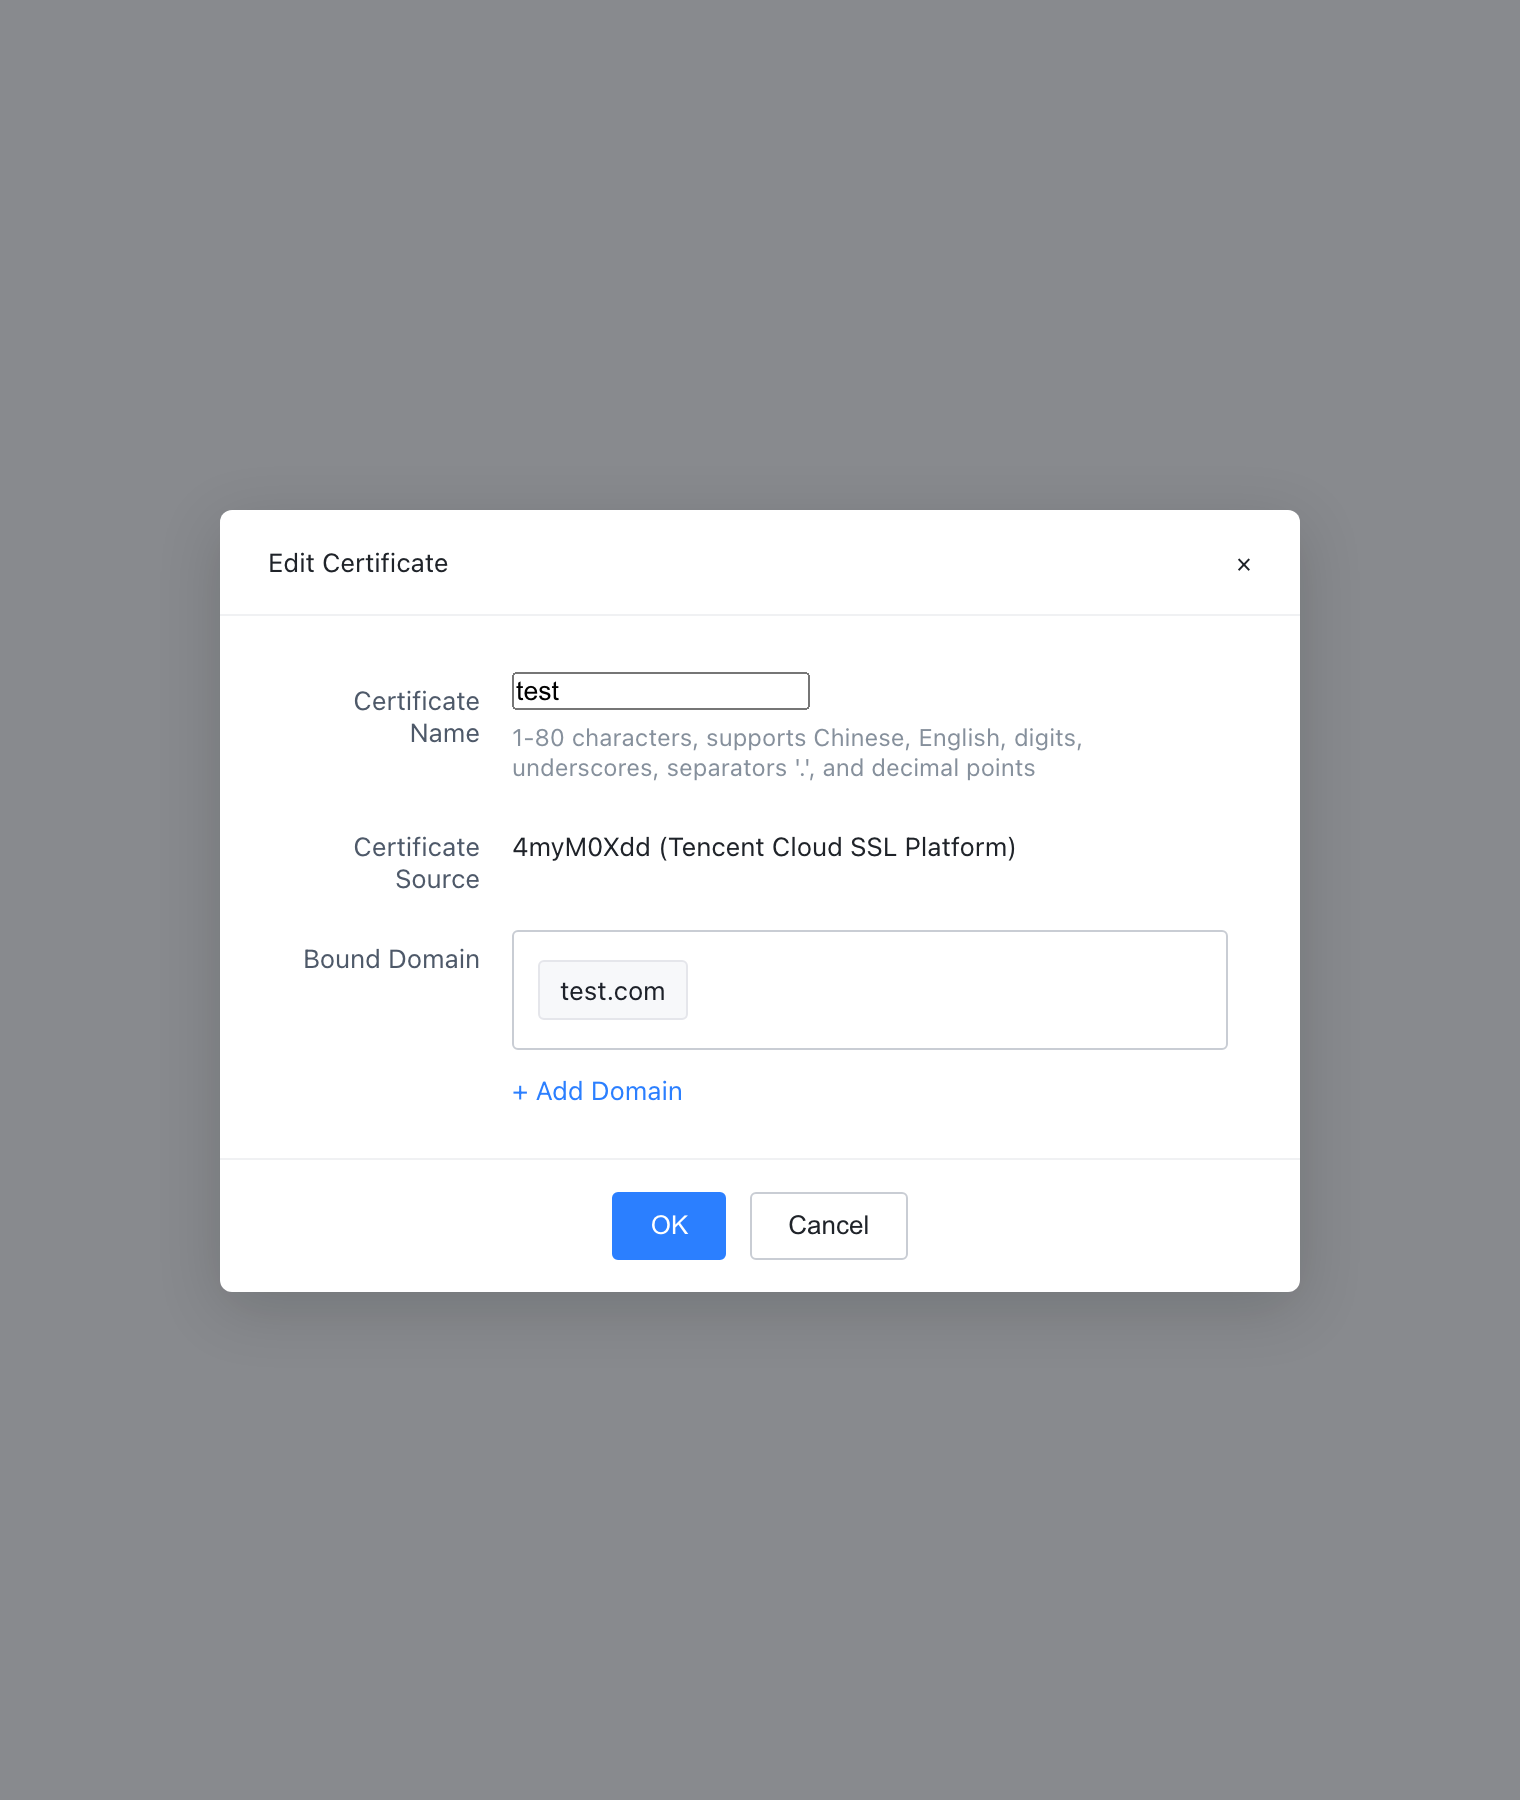
You can modify the certificate name and the bound domain name.
1. On the certificate list page, select the certificate you want to update and click Edit in the operation column.
2. In the displayed dialog box, enter the certificate name, bind a domain name, and click Confirm to complete the modification.
Deleting Certificates
Attention:
After a certificate is deleted, the domain names bound to the certificate cannot use HTTPS to access the gateway.
1. On the certificate list page, select the certificate you want to delete and click Delete in the operation column.
2. Click Confirmin the pop-up window to complete the deletion.