Automation
Download
Focus Mode
Font Size
Automation is a scheduled task feature of WorkBuddy AI that allows you to schedule tasks to run at specified times or repeat at set intervals. It is suitable for scenarios such as daily briefings, weekly report summaries, and scheduled data organization. After configuration, WorkBuddy AI executes tasks as scheduled. If you need to generate files, specify the output format and save location in the task.
1. Creating an Automation Task
1) Opening the Automation Page
Go to the Automation page to view configured tasks, task statuses, and historical execution records.
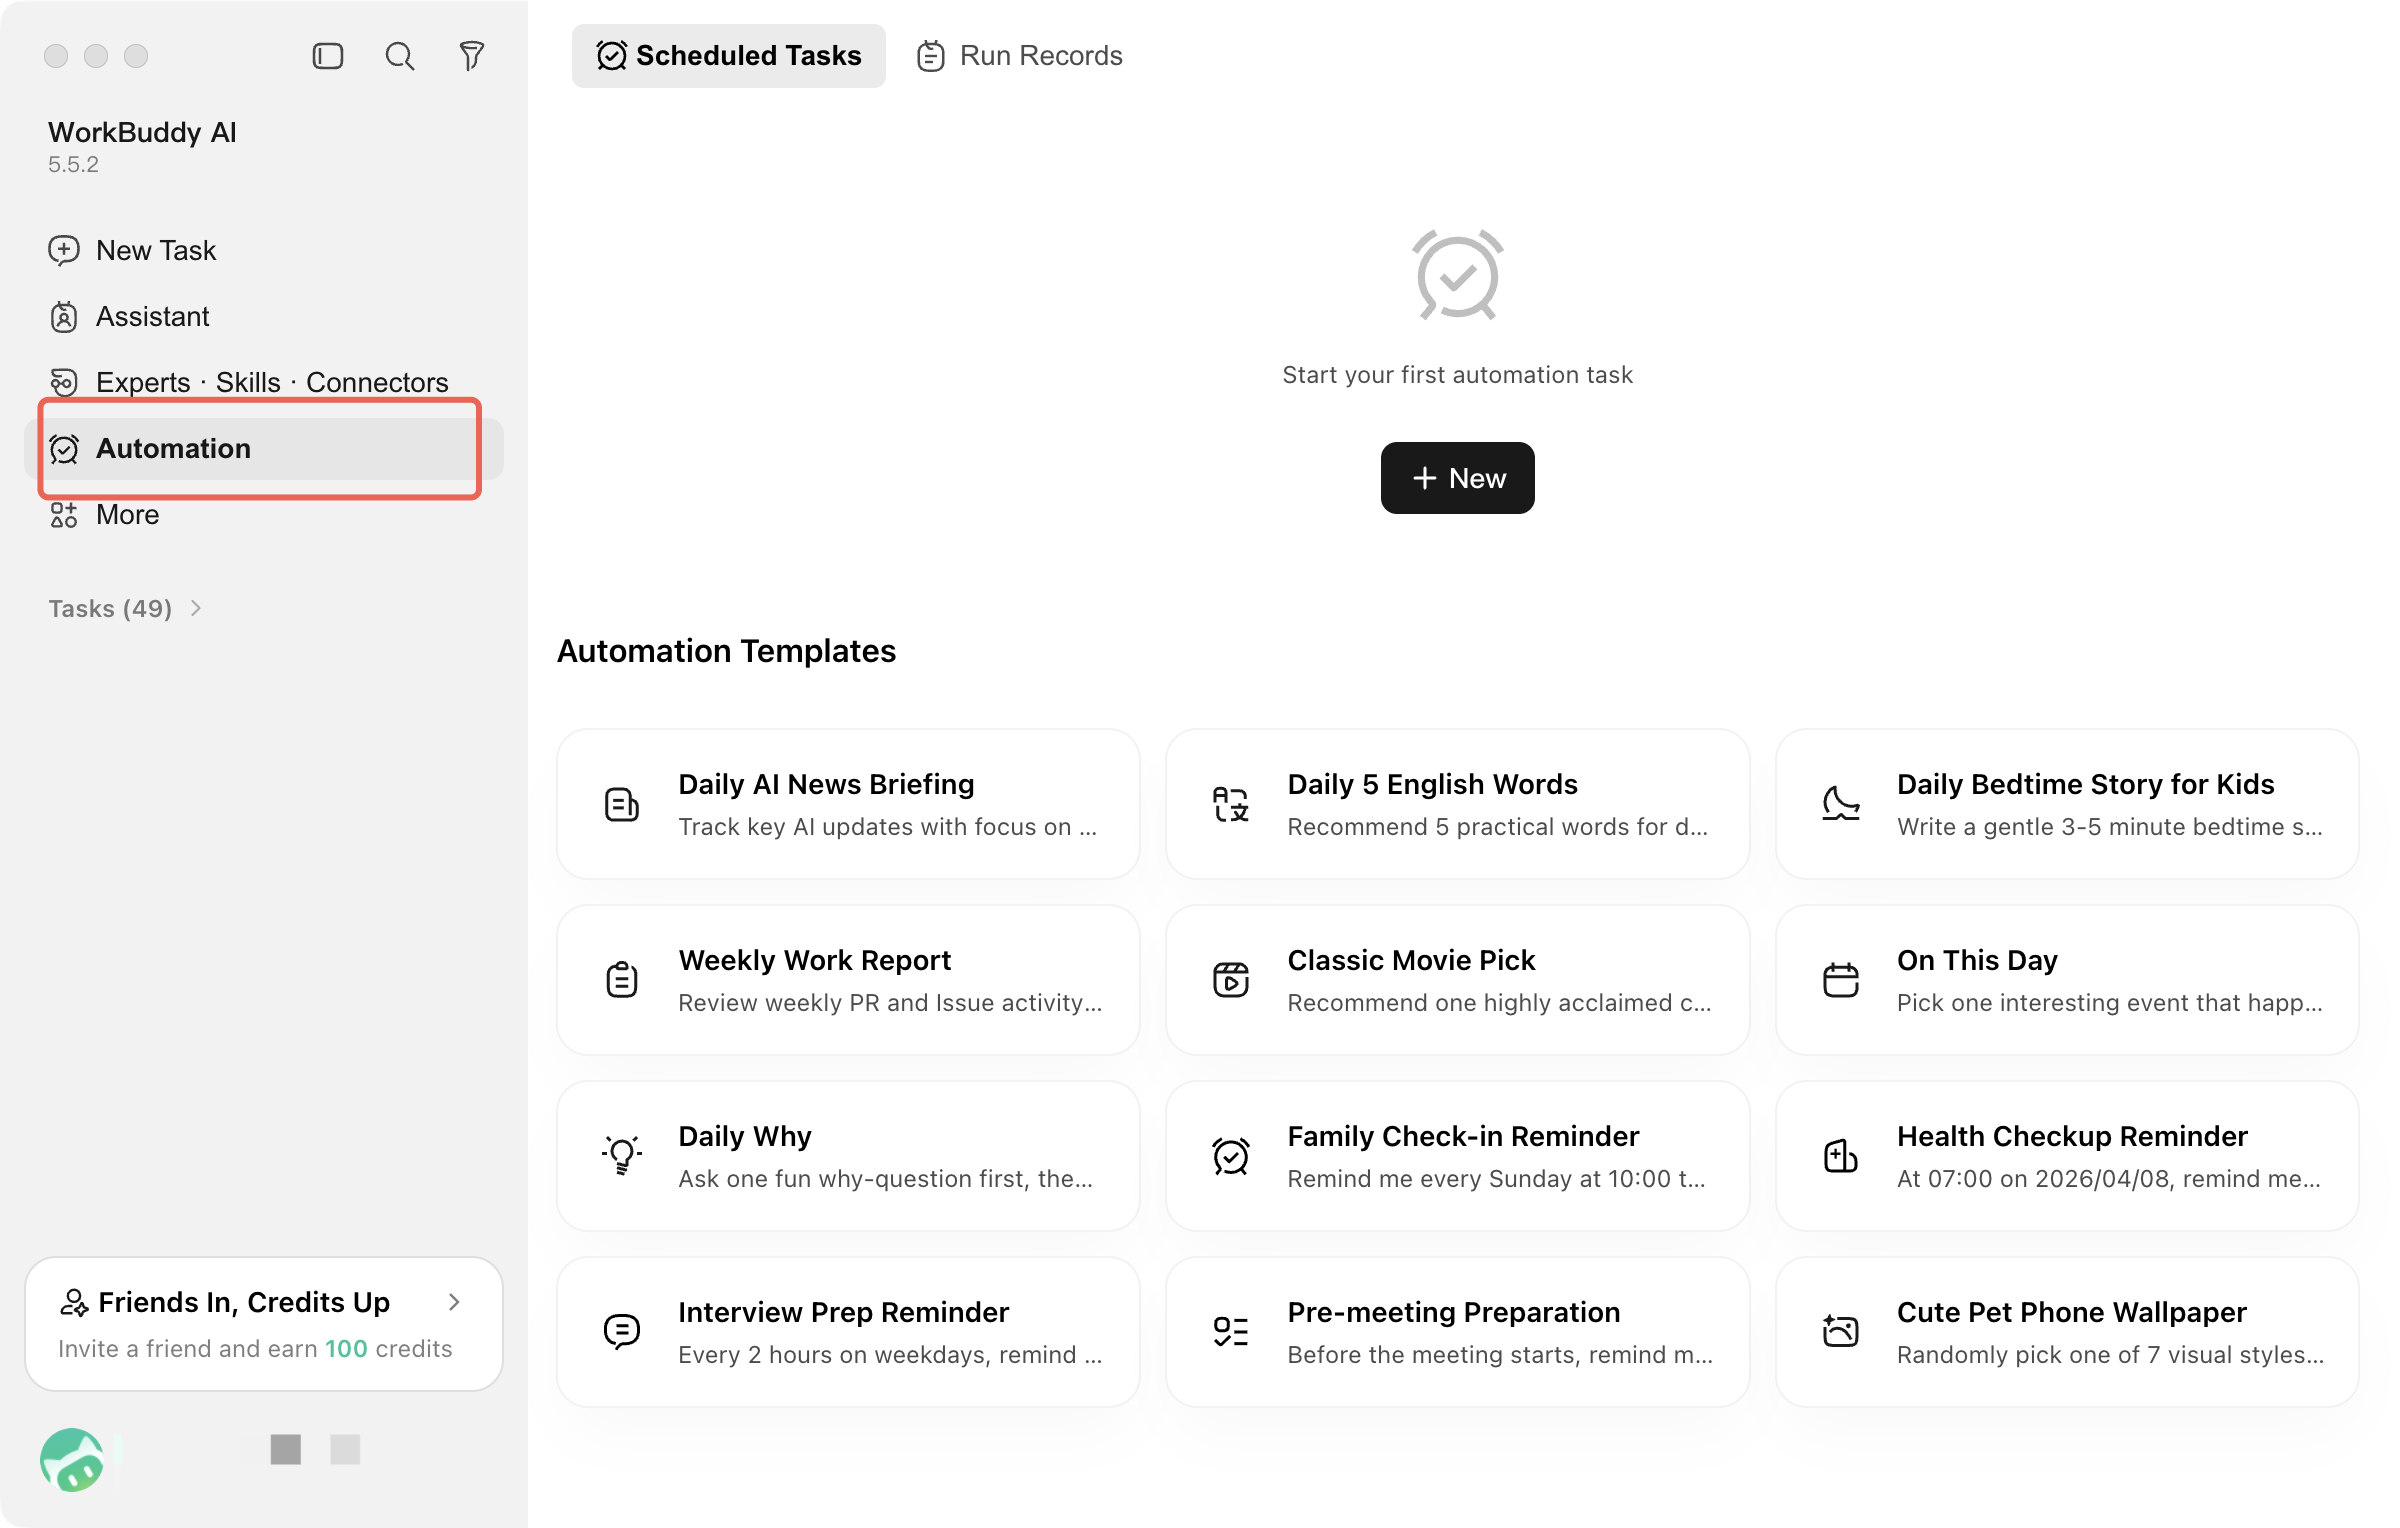
2) Adding a Task
Click the Add entry on the page to create an automation task and fill in the configuration.
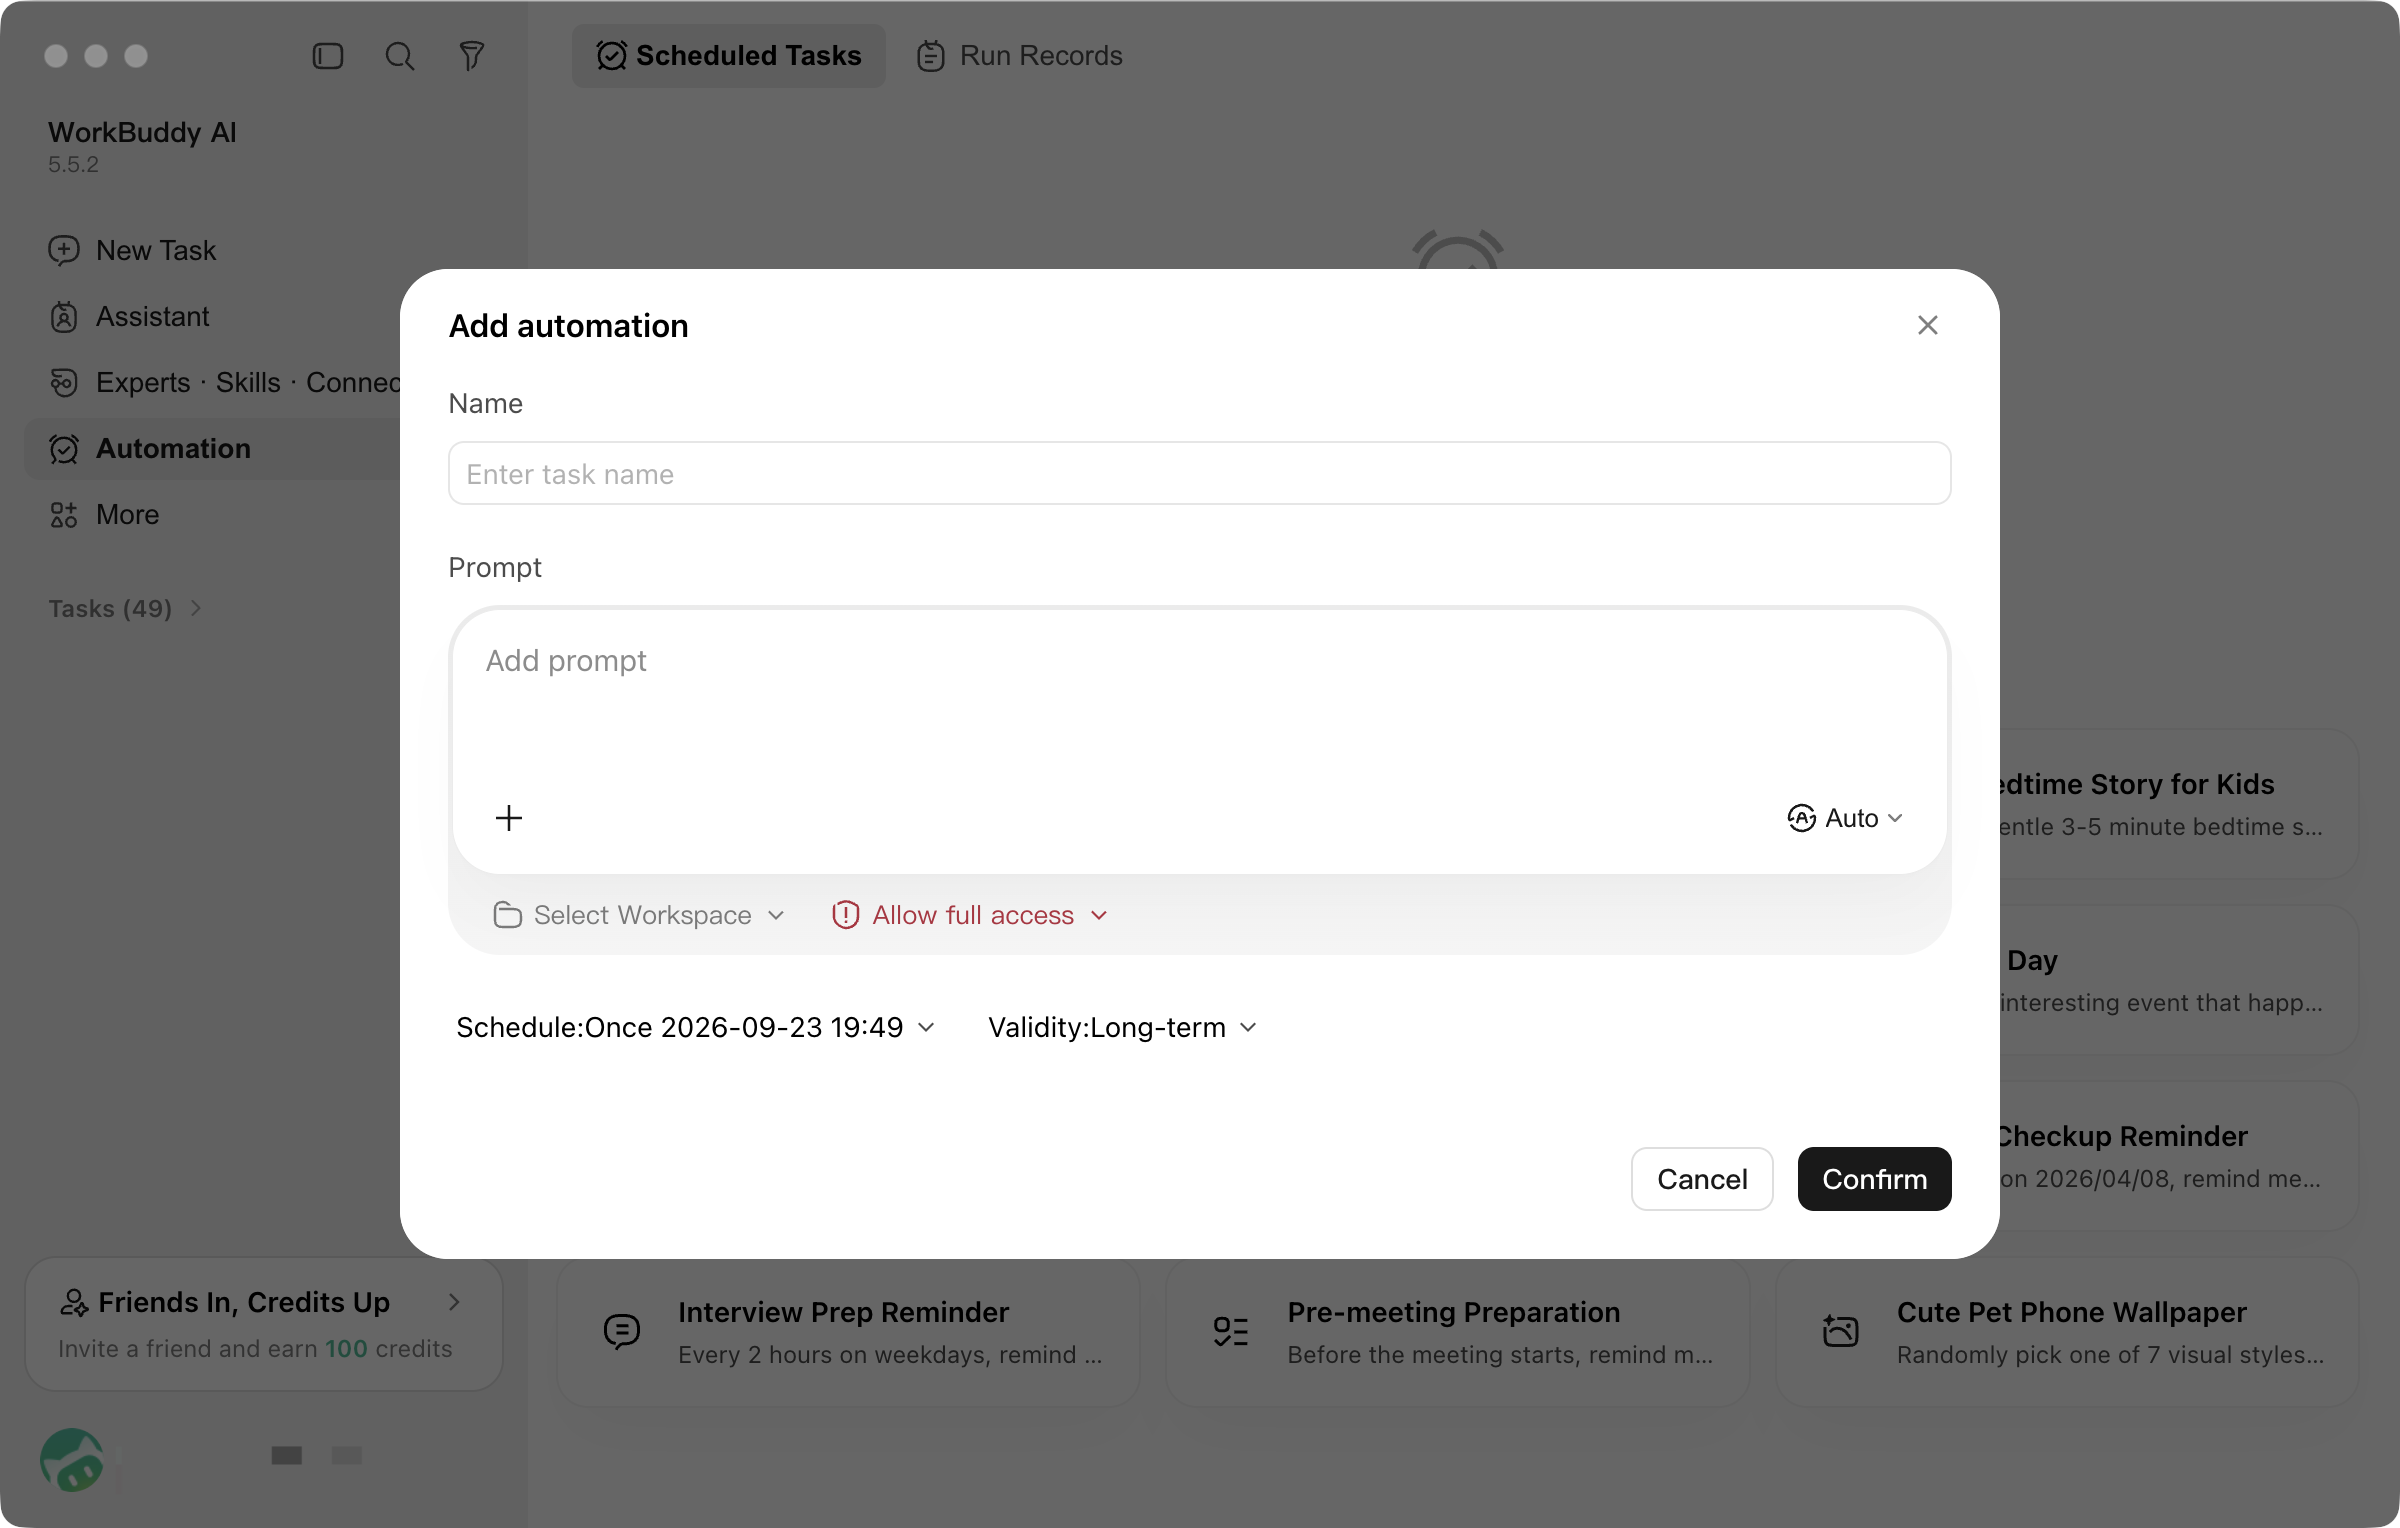
Configuration Item | Description |
Name | Used to distinguish different tasks. It is recommended to include task content, such as "Daily AI Briefing". |
Workspace | Select the directory used for task execution, and confirm the files to read and the location for saving results. |
Prompt | Describe task goals, data sources, processing scope, and output requirements. |
Model and Skills | Select the model for task execution, and choose currently available skills as needed. |
Experts and Connectors | Select as required by the task. Complete the corresponding connections and authorization before using external services. |
Execution Frequency | Set one-time execution, or repeat execution at hourly, daily, or weekly intervals. |
Validity Period | Set start and end dates for recurring tasks to limit the effective time range of the schedule. |
Permission Settings | Confirm the operation permissions of the task. Carefully check when file modifications, command execution, or external service operations are involved. |
Scheduling rules support the following methods:
Run once: Specify the date and time to run the task only once.
Recurring: Run the task daily, weekly, biweekly, monthly, or yearly, and set the corresponding time.
Interval: Run the task once every specified number of hours, and optionally select the days of the week for execution.
If no expiration date is set for a recurring task, it will continue to be triggered as scheduled until it is paused or deleted.
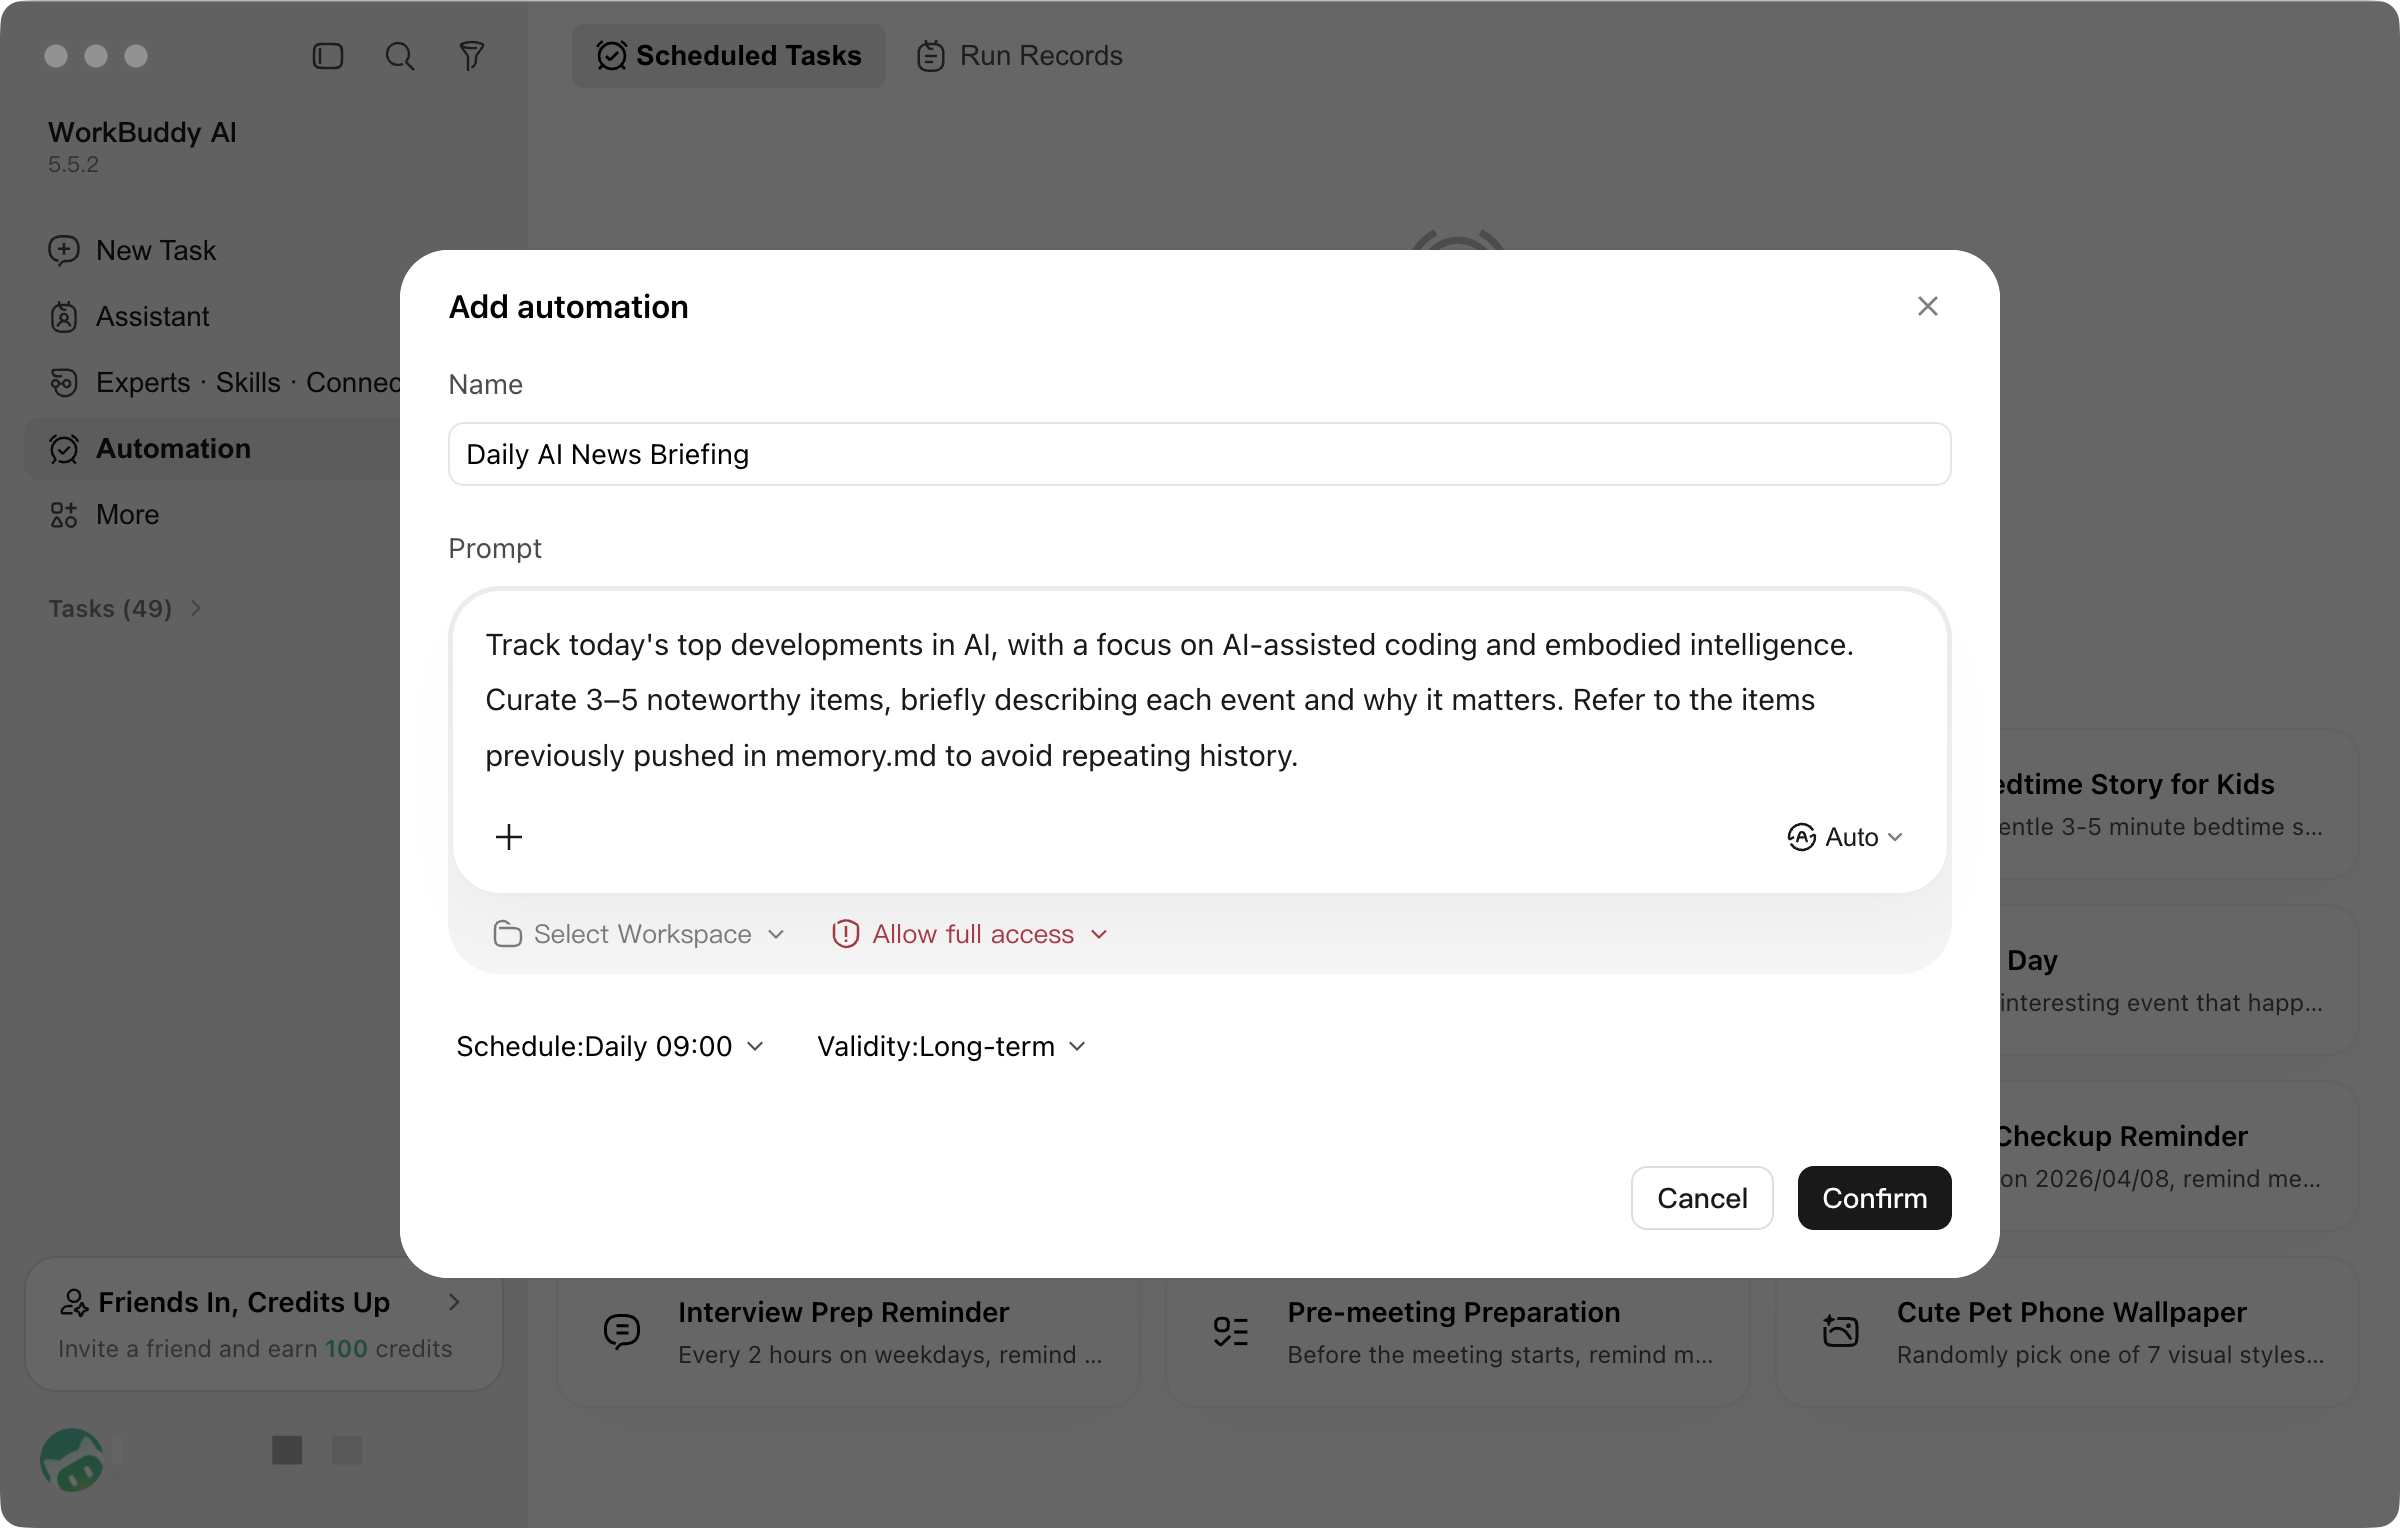
Example: Daily AI briefing
Name: Daily AI briefing
Execution time: Every day at 09:00
Prompt: Search public AI industry news from the past 24 hours and select up to 5 important updates. Each item must include a title, brief description, publication date, and source link. Prioritize citing original sources. If fewer than 5 items are available, output the actual number. Save the results as a Markdown file named with the date in the workspace. If no information can be obtained, explain the reason and do not fabricate content.
The prompt should include complete background information.
The automation will be executed at a later time. Specify the file path, data source, and output requirements clearly. Avoid vague instructions such as "Handle it the same way as before" or "Organize that file." For tasks that require internet access or connectors, ensure that the corresponding services are available at that time.
3) Starting from a Template
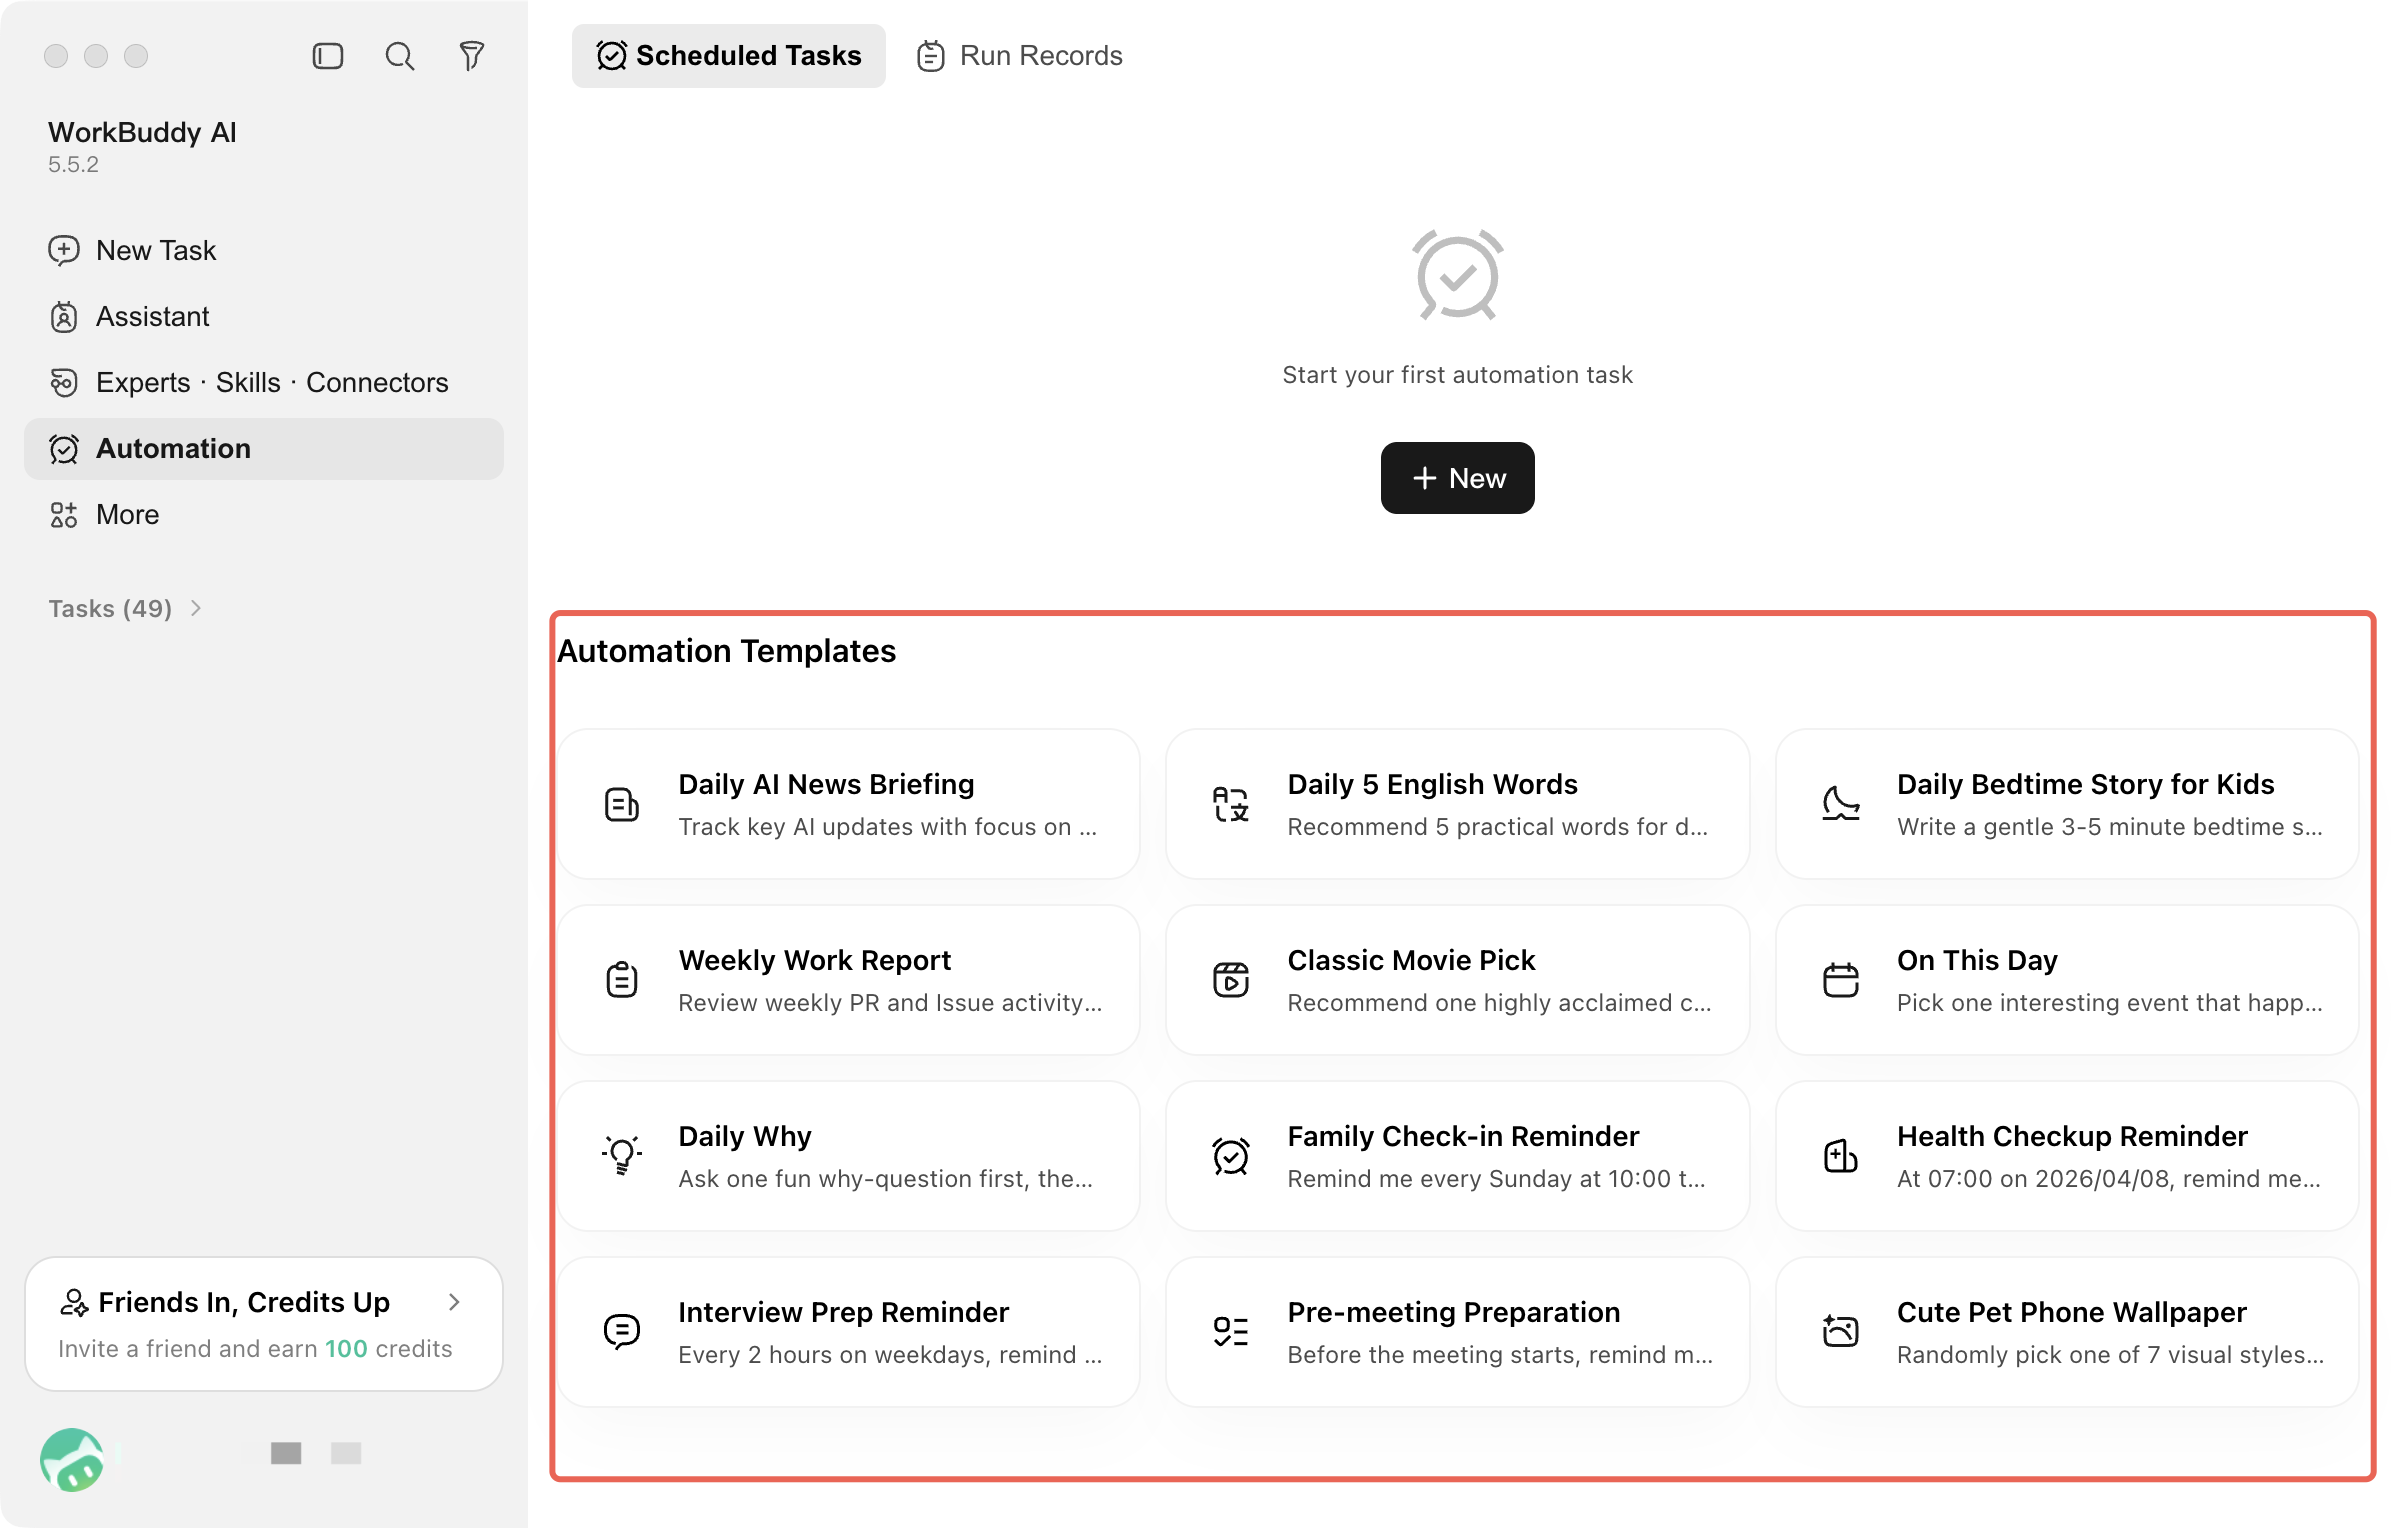
You can start with task templates, such as Daily AI News and Weekly Work Report. After selecting a template, modify the prompt, execution time, and workspace.
A template provides only a starting point for a task and does not automatically include the data or permissions required for the task. For example, if a weekly report template needs to read repository information, confirm repository access permissions first. If it needs to organize local files, specify the exact paths.
4) Creating via Conversation
You can also describe the task and execution time directly to WorkBuddy AI, for example:
At 17:00 every Friday, summarize the work records of the current week in the specified workspace, organize completed items, to-do items, and issues that require attention, and generate a Markdown weekly report. Keep the original files and do not overwrite existing weekly reports.
After creation, verify the execution time, workspace, and prompt on the Automation page to confirm that the configuration meets your expectations.
2. Managing Tasks and Viewing Results
After creation, you can manage tasks on the Automation page:
Operation | Description |
View Run History | View the status of each execution, and open the record to check the output content. |
Test Run | Manually run the task, and check whether the prompt, data sources, and output meet expectations. |
Modify Configuration | Open the task, adjust the prompt, execution time, and other configurations, and then save. |
Pause/Resume | Pause subsequent scheduled executions and retain the configuration, and resume when needed. |
Deletion | Remove automated tasks that are no longer needed, and stop subsequent scheduled executions. |
A test run actually executes the task.
A test run does not merely check the configuration. File writes, command executions, or external service operations in the task may actually occur. For the first test, use copies of the data and limit the processing scope first.
3. Precautions for Use
Keep your computer and client running: Local automation requires that the computer remain powered on, not in sleep mode, and running WorkBuddy AI at execution time. Tasks that require internet access must also maintain a normal network connection.
Check permission settings: With default permissions, some operations may wait for your confirmation. With full access, some operations may no longer require step-by-step confirmation. Before creating, verify the prompt, file paths, and connector authorizations, and do not expand permissions merely to reduce confirmations.
Back up important files first: It is recommended to save the results as a new file. When batch modifications, moves, or overwrites are involved, verify on a copy first.
Results require review: A task being triggered on time does not necessarily mean it succeeded. Missing files, expired authorizations, or unavailable services can all affect execution. Check the results through the run history.
Do not assume that results will be sent to external platforms: Generating files and sending them externally are different operations. If you need to send messages or emails, or upload files, confirm that the corresponding capabilities are available and clearly define the recipients and sending scope.
Help and Support
Was this page helpful?
You can also Contact sales or Submit a Ticket for help.
Help us improve! Rate your documentation experience in 5 mins.
Feedback